Setting up a simple team project workflow on github
07-19-2020
Tags: devops github github-actionsReading time: ~6 mins.
Before I started working as developer full-time there were many things that were not obvious to me. One of those things is how to structure a workflow for a project. Sure, simple projects where I was the only person touching the code may seem overkill for some of the things listed in this blog post. But I promise it will be worth your time upfront and save time for your future self. These guidelines will be even more important for team projects.
At the very minimum
1. Branch policies
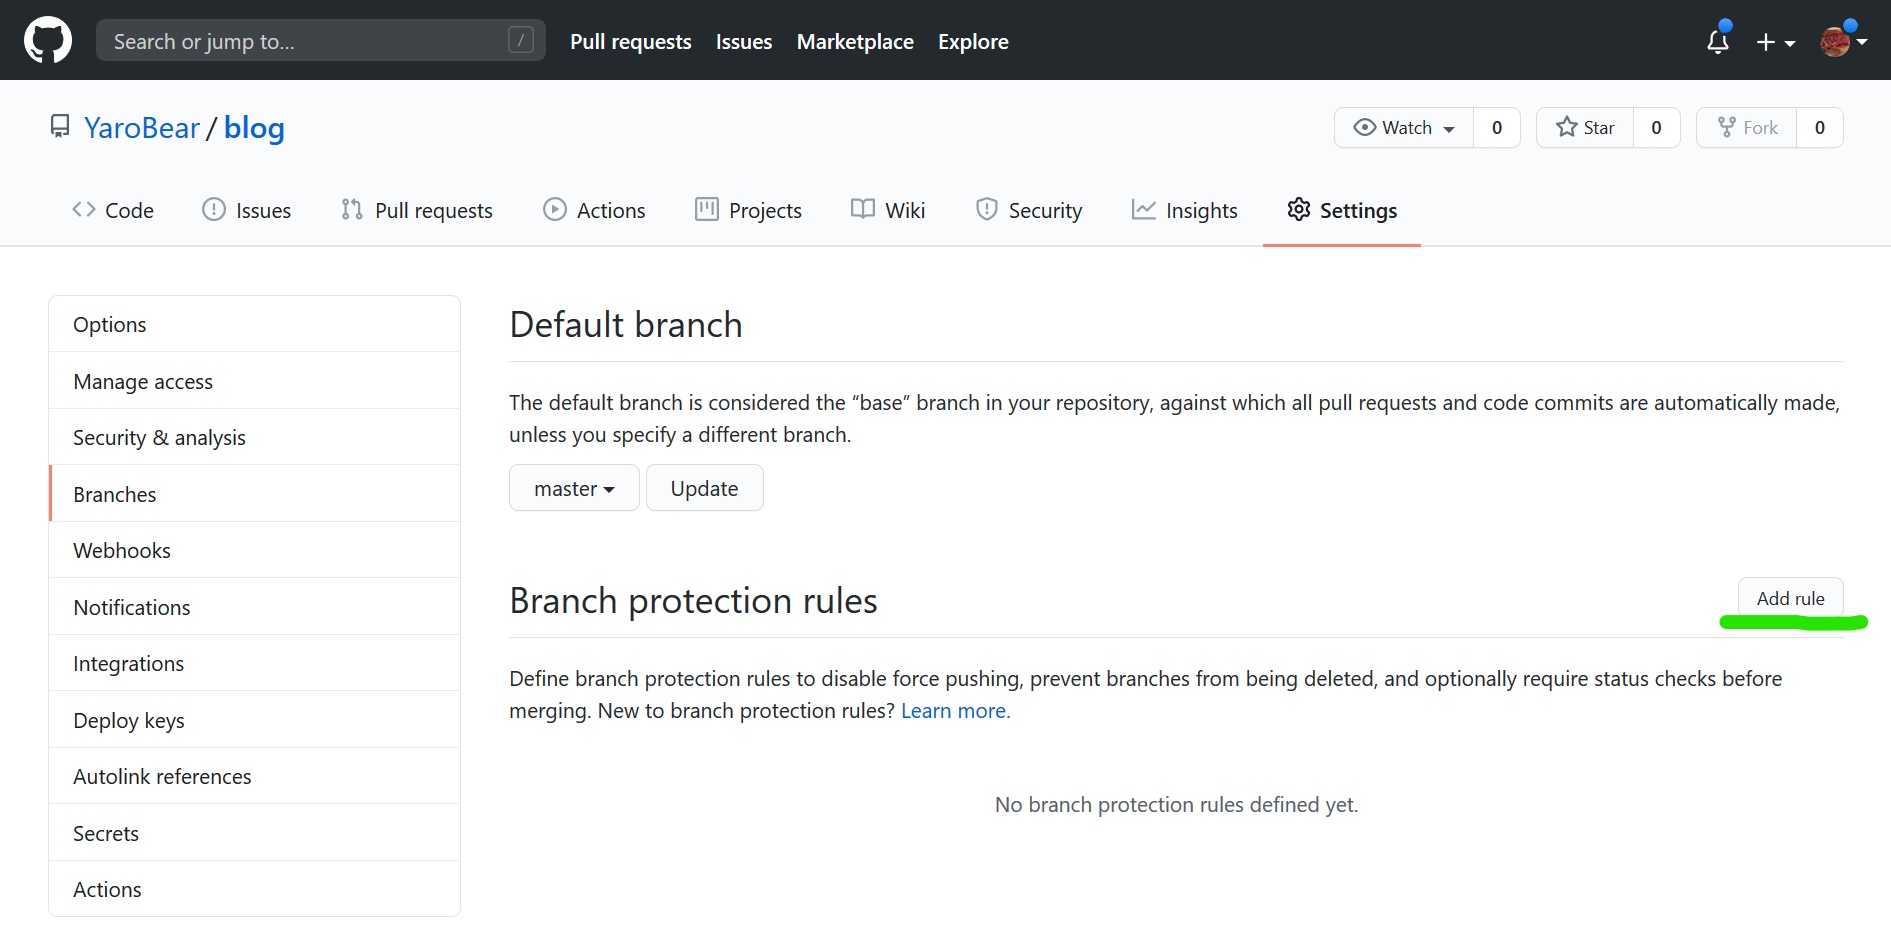
If you're working on a team project, can you commit changes and push directly to master/main? If the answer is yes, this is a huge problem and should be the first thing to fix. Generally, any changes to code should be made by branching off of the master/main or feature branch, and then creating a pull request to merge those changes back into the target branch. This ensures that someone other than yourself reviewed the code before changes were merged in. Humans make mistakes all the time. At the very least your fellow team members should be able to read the new code being checked in and understand what it does. Team members should take this opportunity to point out any mistakes or ways to improve the code before it is merged in.

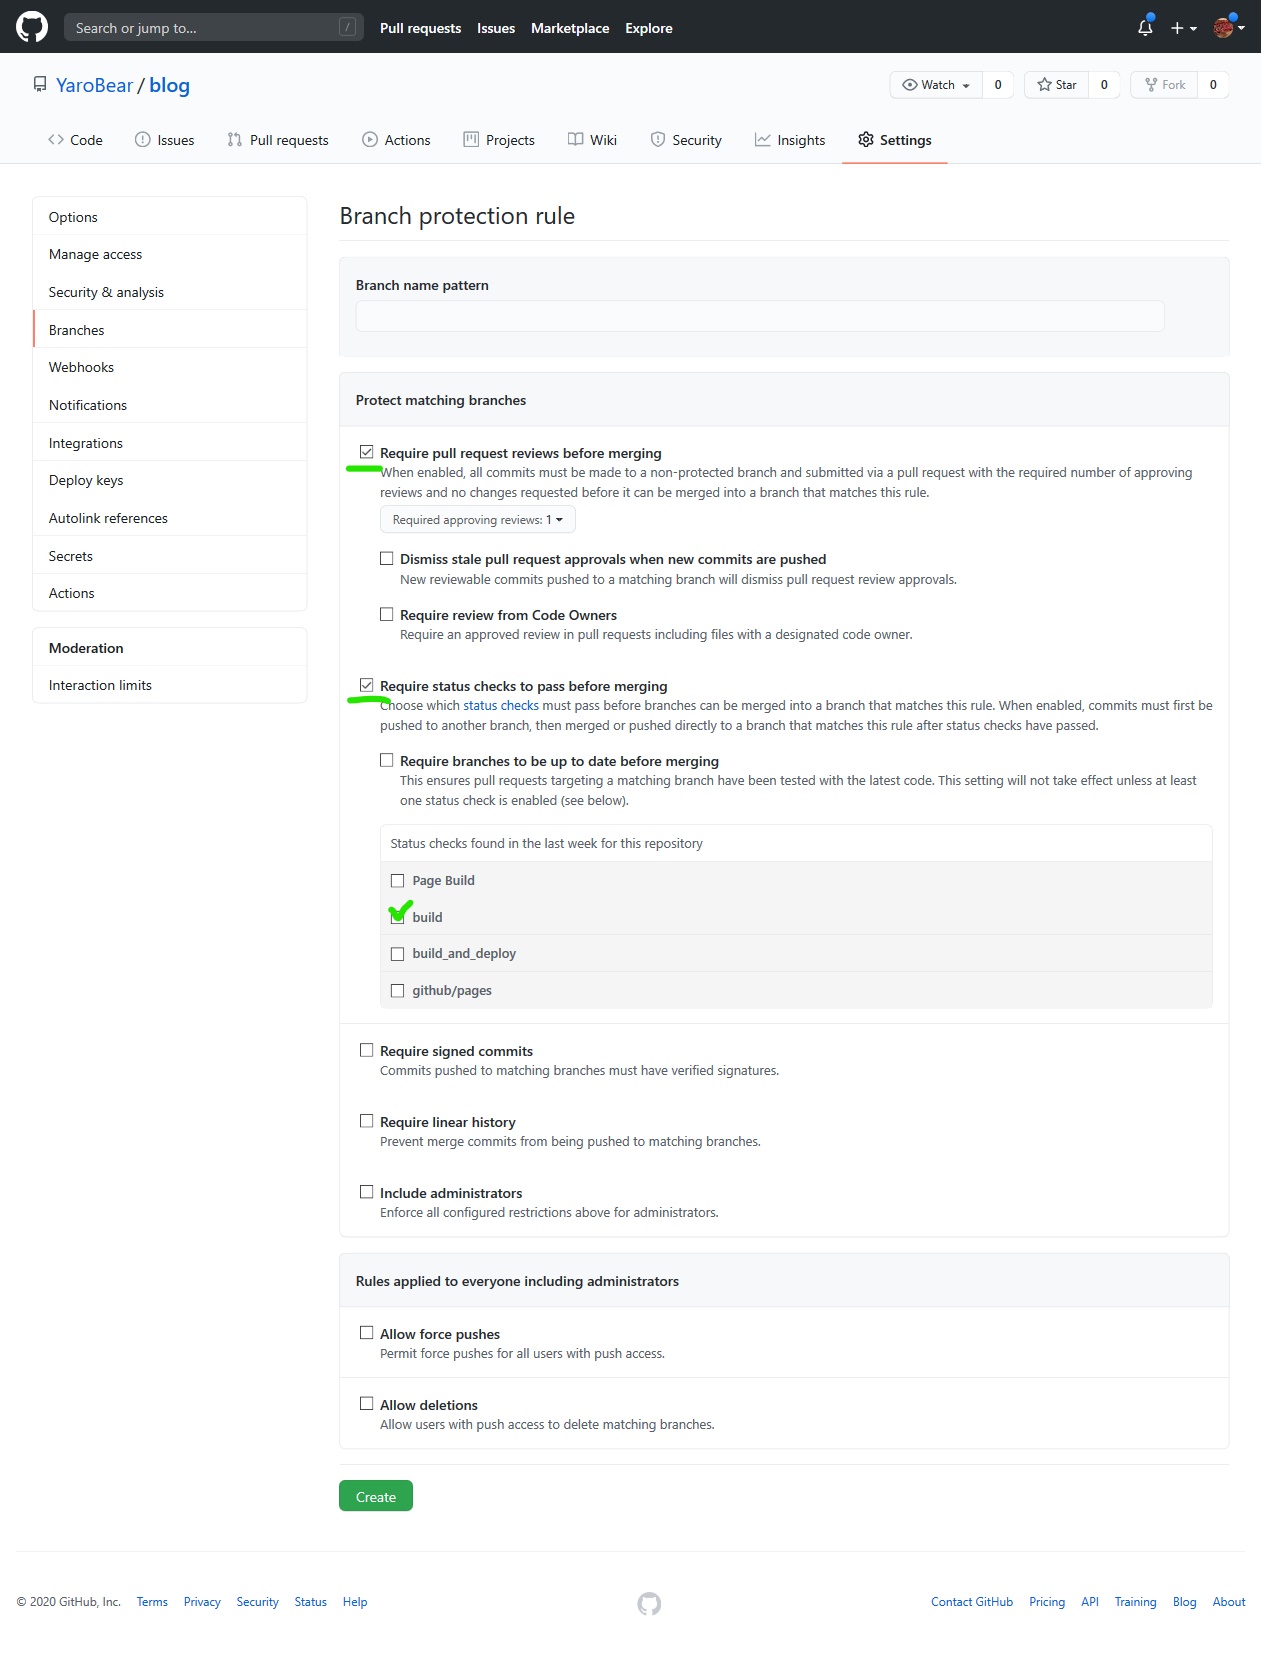
Check "Require pull request reviews before merging"
We will also be checking "Require status checks to pass before merging" in 2. Build Checks below.

2. Build checks
You should always be checking in working code. Can't tell you how many times I've seen compilation errors in a project after pulling down the latest changes. This slows down other teams members either by 1. you have to go and fix it, or 2. you have to remind someone to go and fix it. Don't @ me bro.
Luckily we have a simple solution: build the code when a pull request is created, and setup a policy where pull requests can only succeed if the build succeeds.
For this we will use Github workflows/actions. Setting up a basic workflow to build the project is fairly straightforward with the plentiful example workflows. At this point you should already have some code in your master/main branch, so the only thing left to do is click Actions on your repo's main page. Github is smart and will make a recommendation on what example workflow to setup based on the primary language used for the project. Go ahead and select the recommendation or start from scratch.
I won't go into the heavy details of how actions work here; just know that most of what you probably need is already on the marketplace, workflows are written in yaml, and every action on the marketplace should have good example to get you started. Below I will outline a workflow that could apply to almost any project. The only thing that will differ will probably be the action and it's configuration (build a C# project version build a node project).
on:
  pull_request:
jobs:
  build:
    runs-on: ubuntu-latest
    steps:
      - name: 'Checkout'
        uses: actions/checkout@master
      - name: "Setup node"
        uses: actions/setup-node@v1
        with:
          node-version: '12'
      - run: npm install
      - run: npm build
This should read almost like plain english: On a pull request, run the build job with these steps: use the checkout action to checkout our code, use the setup-node action to setup node.js, run npm install and then npm build.
After setting up the build.yml (or whatever you choose to name it), you can go set the "Require status checks to pass before merging" under branch protection rules from above, and select the name of the build to be used (build.yml in this case).
3. Test checks
You should probably have some unit tests for your code. If you don't, I would highly recommended adding them as they serve us as our guardian angels 👼. Luckily adding test checks is only one line of code! Simply append - run: npm test under - run: npm build and you are good to go. Not only are we checking if the code compiles now, but we are also making sure that our merged changes don't break any existing tests 🤜🤛.
Bonus points:
Deploy your code
We went through the effort to build our code and test it. Once the pull request completes and everything is merged into master/main, why not deploy our built code automatically so the rest of our team can see the changes without having to pull and run changes locally? This is super easy for frontend web apps, as Github has the capability to host it for you via Github pages. Here is the action to do just that: deploy-to-github-pages
Do you have a more complex app with a private server you would like to deploy to? There are many options for that as well:
- Deploy as an Azure WebApp
- Deploy to Firebase
- Deploy to Heroku
We can even just copy our build files to a target server using SCP/SSH like I did for this blog: build.yml
From the build_and_deploy job:
  build_and_deploy:
    runs-on: ubuntu-latest
    if: github.ref == 'refs/heads/master'
    steps:
      - name: 'Checkout'
        uses: actions/checkout@master
      - name: "Setup node"
        uses: actions/setup-node@v1
        with:
          node-version: '12'
      - run: npm install
      - name: 'Build with zola'
        uses: shalzz/zola-deploy-action@master
        env:
          BUILD_DIR: .
          TOKEN: ${{ secrets.TOKEN }}
          BUILD_ONLY: true
      - name: copy files to target server via ssh
        uses: appleboy/scp-action@master
        with:
          host: ${{ secrets.HOST }}
          username: ${{ secrets.USERNAME }}
          port: ${{ secrets.PORT }}
          key: ${{ secrets.KEY }}
          source: "./public/*"
          target: "/var/www/blog"
          overwrite: true
The secrets pipeline variables can be easily configured by going to your project's settings and clicking the Secrets tab.
Some action require setting up a personal access token with github. The action's documentation should tell you what minimal scopes/permissions it needs to run.
Summary
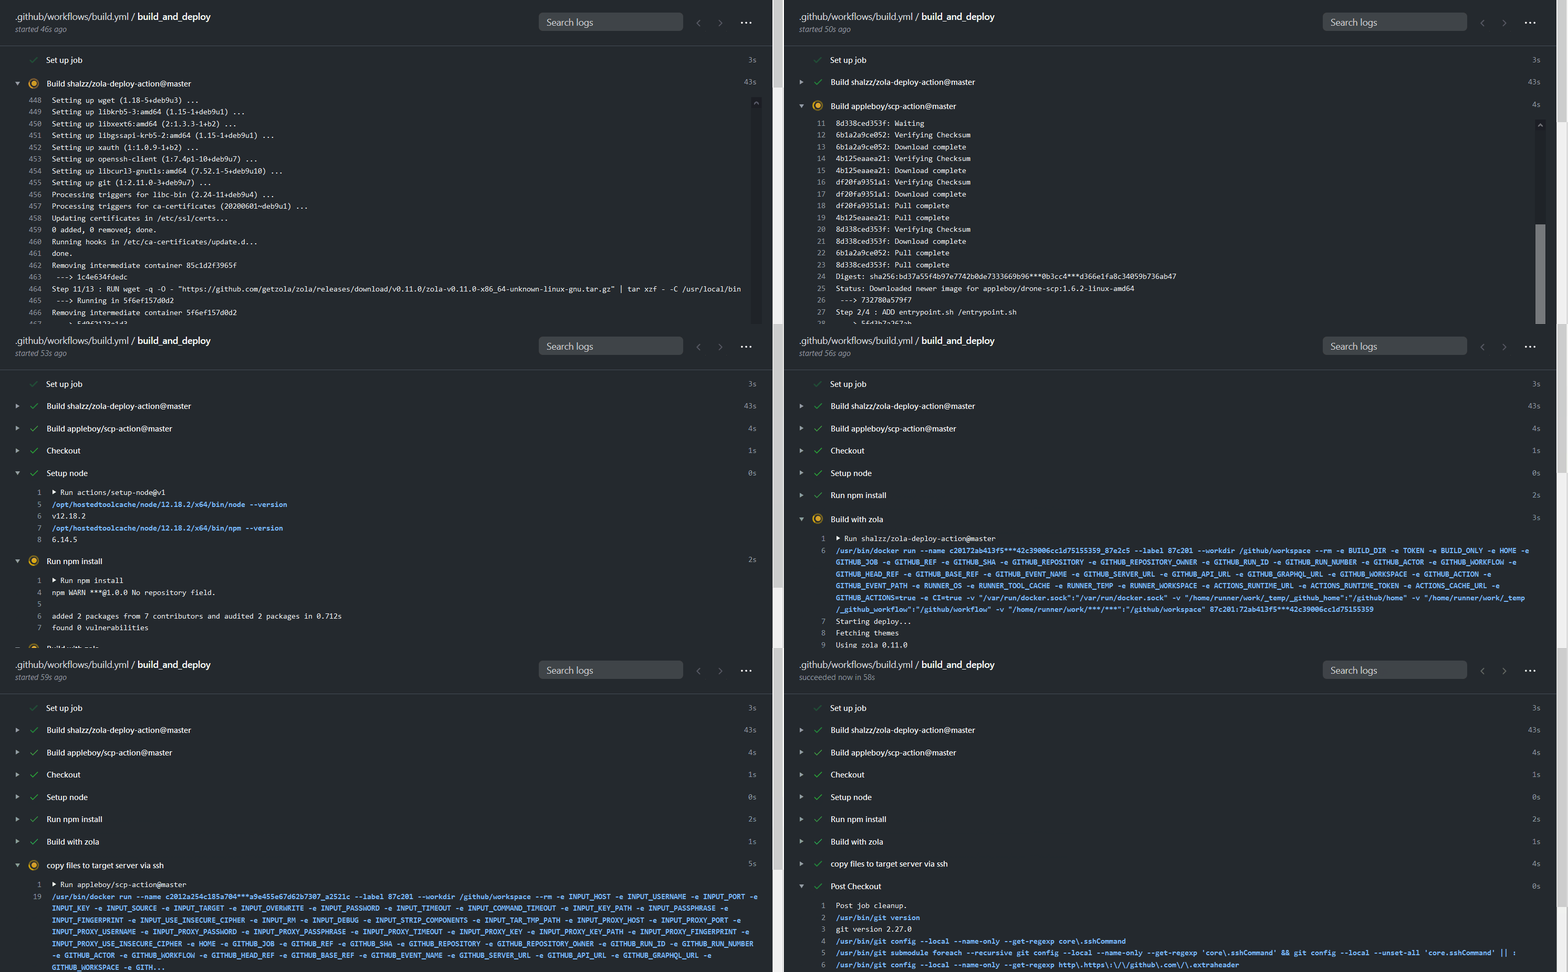
That about covers the most basic scenario. The sky is the limit from here, but setting up a basic workflow to build code and validate our pull requests will save a lot of time and headaches for your team. Also, it's pretty dang fun watching the logs as our build pipelines progress 🤓.
